Tuesday, November 25, 2014

Making an Entry Table

HOW TO MAKE AN ENTRY/CONSOLE TABLE!!!!


So I have been looking for an entry table for awhile now I can never find the right size or the right price. Most of them are too long. And the prices on furniture nowadays sheesh I am only a teacher!
So with my budget on a budget but wanting something nice I searched and search Pinterest and found an interesting Pin:
So I was thinking $18 I can handle that. But let me say there are a few items that I didn't have so my total costs were about $40 but I still consider this a great project. So I read the blog entry and it was very detailed....I did make my own adjustments but her measurements were spot on.

Desert Domicile DIY Table

I have the link listed above because she deserves all of the credit.

I went to Lowes and got all of the wood cut. Some other things that I needed that were not included in the $18 price include:

  1. Liquid Nails 
  2. Screws (I used wood cabinet hanging screws)
  3. Caulking gun
  4. Stain
  5. Paint Brushes
  6. Spray Paint
So these things have to be added to he price if you don't have them at home also. I used a stain from Ikea to match the furniture already in the living room and office. Overall this was an easy project.


This is how it all started on my patio and then I built the rest of the legs and let it sit overnight but then the next afternoon it still was not dry (Gotta love Florida humidity) So we decided to use the screws that I had brought....Well I underestimated how hard it would be to get them in but my hubby used his muscles to help while I held it together.

Okay so this is what it looked like before stain and paint.  I think that it turned out great I was just happy that it was level and did not come out crazy especially on my first build. 

Then it was time to stain. I love the way the black-brown from IKEA turned out I did use two coats the first one was just not what I wanted so then a little poly to seal it all up. 

This picture is after the first coat of stain 


I taped off the sides and as to not mess up the stain and spray painted the top board and with a sand color. The blogger I got this from did it white but that would not go with my color scheme.  I mean I guess that you could just stain the entire thing but that is not the look I was going for.

I did two coats of spray paint and then I used a spray poly that I got from Michael's to seal it all up. The top dried rally quickly also.

And the final look is.......


I totally love it and can't wait to decorate it for Christmas!!!!

I am so happy at some of my little projects I have started another post tomorrow...how to organize your kids backpacks!!! So sick of mine being everywhere but not where they are supposed to be. Until next time...

SC


Volleyball Senior Night Gifts


 SENIOR NIGHT 2014!!!


So each year I make special gifts for my volleyball players. This year my assistant coach and I got a little crazy but the gifts turned out great. Sarah my wonderful and amazing assistant made cups with her handy little machine. We like to give the girls personalized gifts.

Her cups came out great. We made them with polka dots and had their names on them. I got the cups from the dollar tree but you would never have been able to tell with how amazing they turned out.

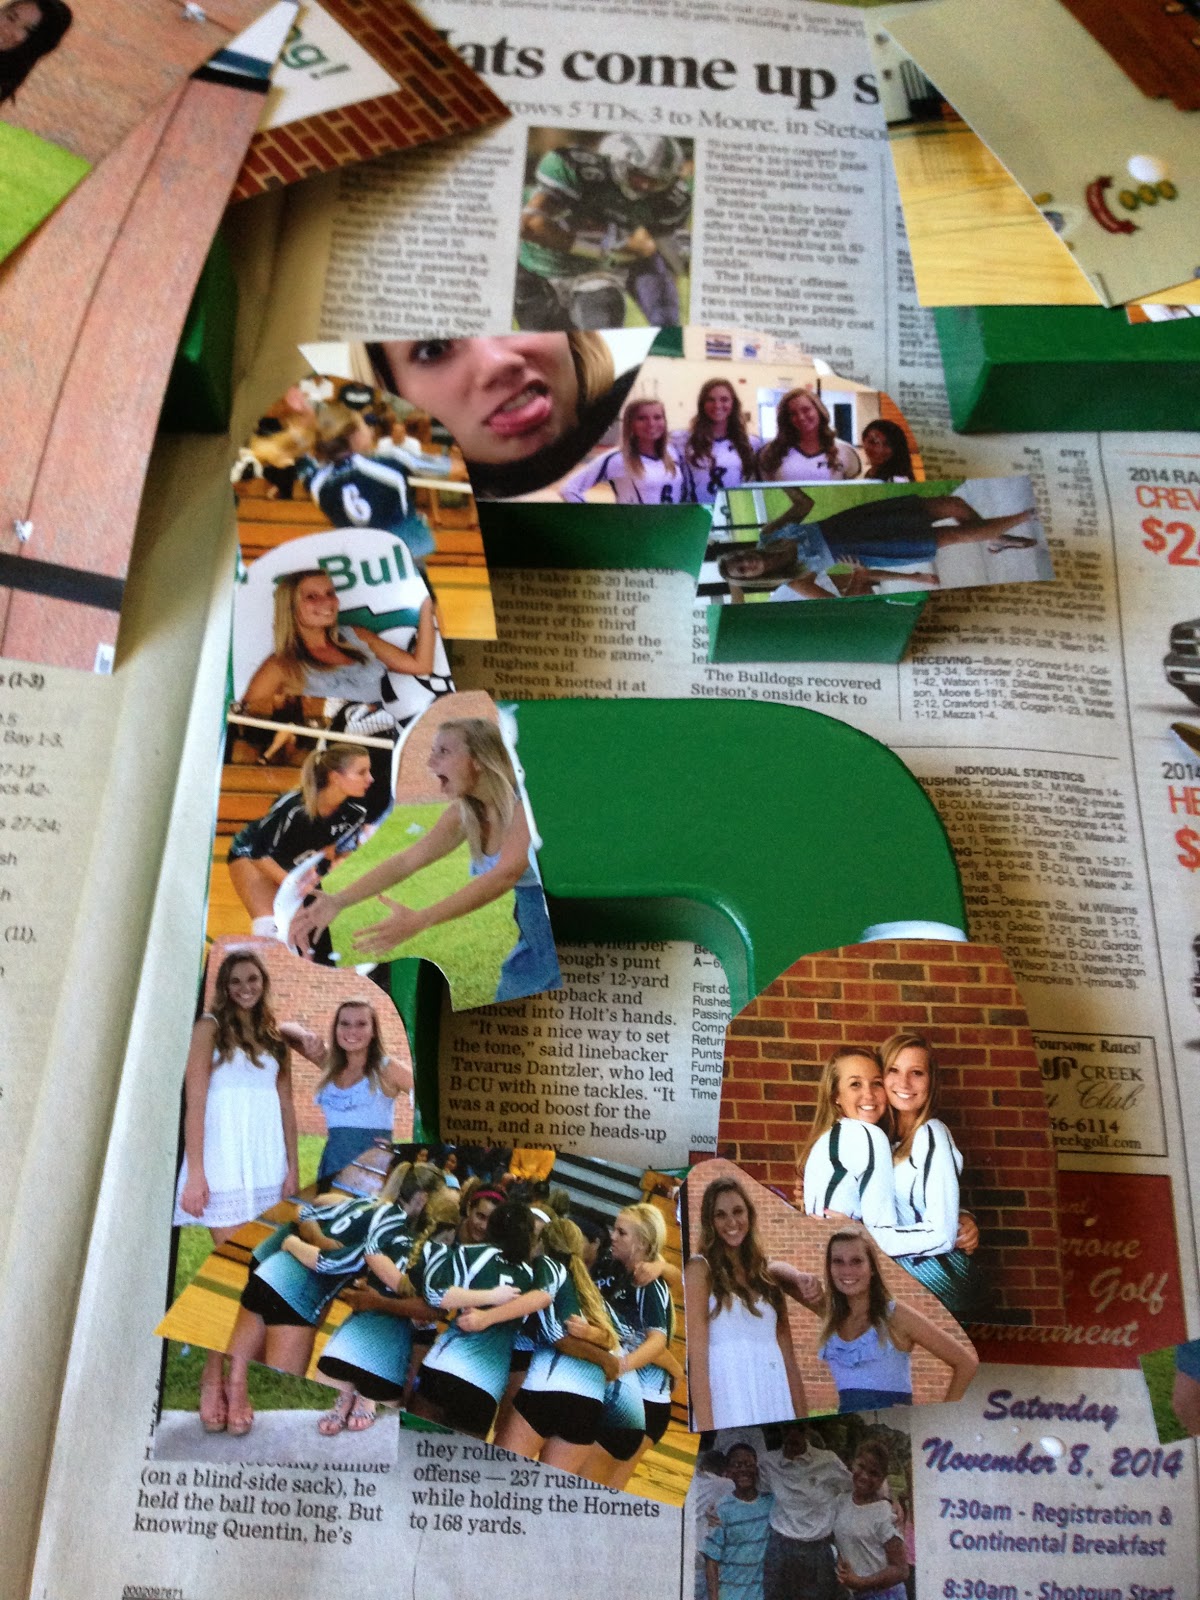
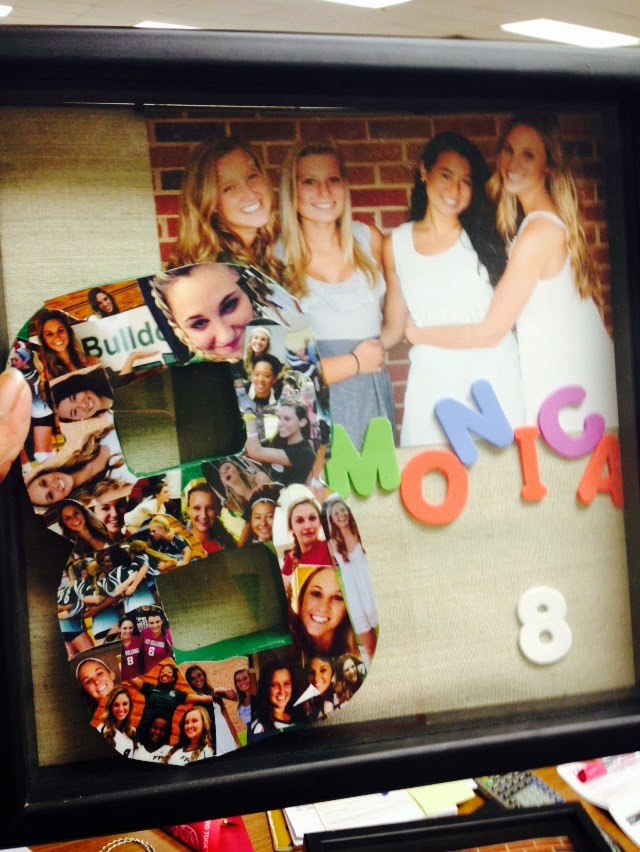
Then we took a bunch of pictures and and made a collage of them on their number. I used Mod Podge and cardboard numbers so that they would not be so heavy when the players hung them up. I took some really awesome photos of the 4 of them and I took my favorite and make it the back ground of the picture. I used letters to spell out theirs names and numbers in the shadow box. To secure the used glue dots.

Here is the process:

 So this is one of the ones that I started I painted the numbers first so that there would not be any cardboard showing


This one belongs to a first year letterer so I had wanted to include her letter in the shadow box. Her box was a little larger than the other girls. The parents got the boxes for me which helped out a lot.


They all turned out really nice and I had some really good pictures of them from freshman year through senior year. It's a great gift if you are trying to do something different but also know that they are going to be kept throughout the years.

Many times as I think back we give gifts that the players will eventually forget about and also they are not really keep sakes. I really love how all of these came out.

Saturday, October 18, 2014

Salad in a Jar (For the Busy Mom Of Course)

So I was trying to find a way to eat better at lunch and save time in the process.When looking for something that would not take too much time I stumbled upon salads in a jar. The selling point for me was that people had claimed that you could make them all one Sunday and they would be good all week. Now we all know that this is not always the case with salads or veggies. The second thing was that I could not find a recipe that worked for me (despite all of the other people that have this posted on blogs and Pinterest.) Now there are many different types of these but I needed something that I would like to eat all he time. Now I have many people asking me to make it for them. What is in my wonderful lunch well I am going to tell you what is in the salad and also how to make it step buy step.

It all starts with the salad dressing: Cilantro Lime Vinaigrette (My own recipe)
This one was trial and error at first but now I have it down.
  1. 1 Jalapeno
  2. Cilantro (One bunch)
  3. 1/2 cup Lime Juice (I get it already bottled) 
  4. 1/2 cup organic rice vinegar
  5. 1/2 cup olive oil 
  6. Garlic
  7. Salt and Pepper to taste 
Blend it all in the blender and you are done

This is also the first thing you add to your mason jars.


You want to make sure that all of your veggies are chopped and ready to go this makes everything go a lot quicker.I drain the black beans before you start chopping so that they are ready to go when you start to put the salads together.

Next you are going to add the black beans this is a great source of protein and will definitely fill you up.and then all of your crunchy veggies. Radishes, sweet peppers, cucumbers. If there are other crunchy veggies such as carrots (which I despise).
Next you are going to add your lettuce then tomatoes I use cherry tomatoes.
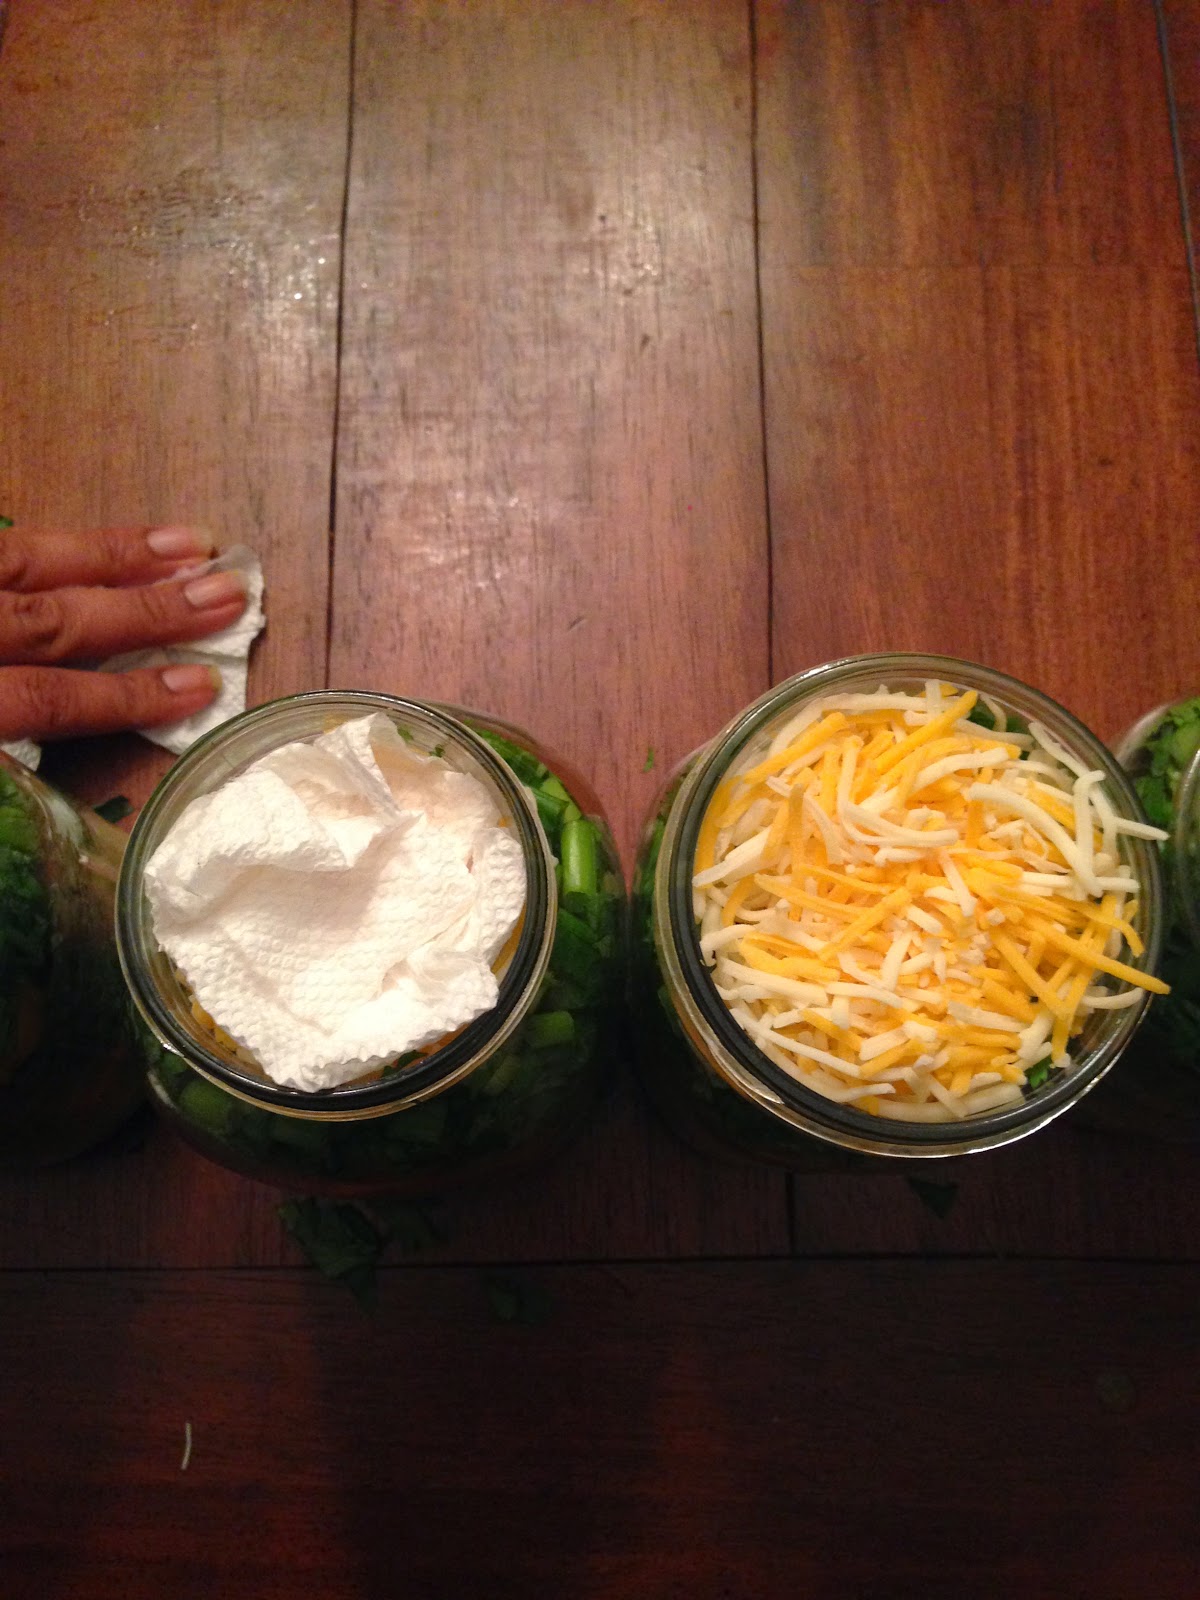
Last I add green onion, then cilantro and cheese on top.
And a paper towel....this grabs the moisture from the lettuce and keeps everything crisp.
Lastly seal the jar and put them into the fridge you are ready for the week ahead.


ALL DONE!!! Just a note you might want to take a plate or I use a plastic pasta bowl to dump my salad into its a hefty and filling salad.

Saturday, August 23, 2014

Public School Vs. Private School: Why do people judge me?


It's so interesting that people find things to argue with you about. One thing that people love to talk to me about is why I send my kids to private school. When it comes to public versus private education I have been called a hypocrite and asked questions like: How could you? Don't you believe in the education system in which you teach? Are you too good for public school? Are you trying to prove something? Don't you want your kids are more diversity? Oh and many of my African American friends say things like "Why are you trying to be uppity?"  "That's what white people do" I have heard all of these comments from friends, family, coworkers over the years and acquaintances. (I will note that some of my closest friends would never say this because we all attended Pasadena CHRISTIAN together) 

I mean I assume that in these people's heads they have valid questions but to me they are invasive and really none of their business but I always defend myself and since it's out there let's talk about it. Am I a public school teacher? Yes I am, I teach high school geometry and geometry honors. I have also taught in some of the worst neighborhoods in Southern California to very privileged neighborhoods on the beach in Florida. I think it make me a well rounded teacher to be able to deal with all types of students. Do I believe in what I do? Absolutely, I think that if you can reach just one child then you are making a difference. I work hard, plan lessons and take the success of my students very seriously.

Now let's talk about me. I am a product of private and public education. I went to an amazing school (Pasadena Christian School in Pasadena, CA) for K - 5th and I am grateful to my parents for sending me here. Not only did it lay a great foundation for me to be successful in public school, I learned about the Bible and how to live life right and through God's commandments. I also have many lifelong friends that are still my dearest and best friends to this day. Not to mention amazing teacher's. I went to my second grade teacher's wedding and still keep in touch with one of the 4th grade teachers to this day. I have even had family member tell me I think I was better than them because I went to private school. This is absurd because I did not make the choice in Preschool or Kindergarten but I am happy and blessed for the opportunity my parents did give me to attend PCS.

NOW MY KIDS....I love and adore my children. They have been in private school since they could attend school (with one exception you will read below). My oldest since he was 1 and my youngest started at 2.5 it is very important to me that my kids receive a Christian education just as I did. It's great when what you are teaching at home is totally reinforced at school. Its a personal choice that is important to me and my husband and we are blessed enough to afford to send them to an amazing school. The main reason is that a Christian based education is very important to us as is our faith. My son is in the choir, plays piano and is involved in run club, soccer and basketball all at school. This is very important to us as well as attending chapel regularly. This all makes for a very well rounded child.

WE DID TRY PUBLIC....We moved to Florida so fast and against my better judgement we put our oldest in public school and my youngest in a prep day care facility. The Prep Daycare facility had great academics although it was not religiously based it was a decent school. But my oldest began to fall through the cracks almost immediately . He's a quiet and shy kid and doesn't cause problems so he was just "there." We also ran into other issues that I did not think I would  have to explain to a first grader like:

"Mommy what's wrong with my skin color?" 
"What is black?" (Not to mention my son is very light skinned just as I am so explaining the different shades of African Americans is not a conversation I wanted to have, I admit I skipped over it totally and changed the subject) 

Although these issues come up in life they are not things that we should be talking about to a first grader. So we moved closer to my job and the hunt began for a private school once again. I stumbled upon a great website and set up a meeting with the principal. I immediately (as in put a deposit down that day) for both of my sons to attend the school the following year. We were immediately impressed and my children have flourished in this environment.

I want the same foundation set down for my kids that I had. I want them in a place where they are accepted for who they are and will not fall through the cracks. I want great academics that are challenging for my children to set them up for success later in life.  I want a Christian education where they learn about the Bible and also right from wrong each day not just on Wednesday and Sunday at church. We found exactly that, we also started going to church there and joined the church.  My boys go to school where we attend church and the church community, actually let me correct that the FAMILY that we have gained is amazing and has truly made settling in much easier for all of us.

Do people question me? Yes but, do I care what they think? Absolutely not.  This is what is best for me and my family. It might not be best for all kids and there are great public schools and great teachers in public schools out there but this is what works best for us.

Until Next time, 
SC

Wednesday, July 30, 2014

Freezer Meals Teriyaki Chicken Review

So tonight we tried the Teriyaki Chicken but we decided not to do it in the crock pot my husband grilled the chicken instead. IT WAS GREAT. It only took about 15 minutes to grill which was perfect because that's how long it took the rice to cook also. I heated the sauce on the stove and added a little corn starch to it to thicken it up (only about 1/2 teaspoon). I added the sauce to the chicken when done. I also added some of the sauce to the rice (not on the kids rice though) The best part is that the kids ate it too! Now those of you who have been following know that I have very picky eaters. Since they liked it I say this is a winning dish. 

We ate our dinner with rice and stir fry veggies. The kids did not eat the stir fry veggies but they did have corn. This will be one of constant rotation. So as a review of the ingredients here is the recipe again. 

3-4 Chicken breasts
1 cup Teriyaki Sauce (I used Lawry's)
2/3 Cup Brown sugar 
3 cloves of Garlic 
3 slices fresh ginger 

Combine everything and freeze. Defrost the night before and Cook for 4-6 hours on low or grill. 

I hope that everybody likes this one as much as I did. Until next time!!! 


Sunday, July 27, 2014

To Busy to Cook? Part 2 Freezer Meals (These are even Better)


Freezer Meals Part 2 
Here We GO!!!


 As promised I have made my second round of freezer meals. I also have pictures of the prep, I will include the recipes and some tips and tricks to make it easier. Like I said before this is a transition for me and my family but I am excited about how much time that they are going to save me. So in this post you will find 6 new recipes: 

Slow Cooker BBQ chicken
Peppered Steak 
Slow Cooker Chili 
Cilantro-Lime Chicken
Teriyaki Chicken
Cafe Rio Crock Pot chicken

Let's Start with BBQ chicken: 
2 lbs boneless chicken 
1/4 cup Heinz Ketchup 
1/4 cup Worshershire Sauce 
3 Tbls. Brown Sugar 
2 Tbls. Chili Powder
1 Tbls. Hot Sauce 
1 Tbls. Curry Powder 


Mix all ingredients first and then add chicken. Spray slow cooker with cooking spray and cook 10-11 hours. Good sides can be baked beans, salad, roasted asparagus or potato salad. 

Here is what it looks like all mixed up 


Peppered Steak 
1.5 lbs boneless beef round steak (I cheated and got fajita meat the less work the better for me) 
2 onions 
1 clove of garlic
1/4 teaspoon ground ginger 
2 medium green peppers
1 cup of water 
2 tablespoons beef bullion 
3 tablespoons soy sauce 
(2 tablespoons cornstarch 1/4 cup cold water) <---- Do Not put these in the bag

Mixed everything up and freeze. Cook 6-7 hours on low add cornstarch and water when beef is done. Serve over rice. 


 I decided to use the freezer storage after I labeled the bags so I taped them to the top containers.

 Slow Cooker Chili 
1 lb ground Beef 
1 Onion 
2 can diced tomatoes 
1 can tomato sauce 
1/4 Cup Ketchup 
1/4 water 
1 can dark red kidney beans 
1 packet chili mix 
3 stalks celery 
2 Tablespoons Worcestershire Sauce  
1 Tablespoon Sugar

First brown the ground beef. As it cooled I combined the other ingredients. I then mixed in the ground beef. Some sites say mix it in the bag it's easier in a bowl. You can split into two freezer bags but I decided to buy some freezer safe glad wear instead it's way easier to deal with for some of the recipes . If you are going to use plastic bags make sure that you label them before hang. Also Another quick tip is put your plastic bag into a pitcher this makes it easier to fill up. 

Defrost in fridge and cook for 5-6 hours on low. 

Cilantro Lime Chicken 


1.5 lbs Chicken Breasts
1/2 white onion 
1 red bell pepper 
1 Cup black beans drained 
1 cup frozen corn drained 
4 oz. can green chilies 
1 jalapeno
3 tablespoons Lime Juice 
3 cloves garlic 
1 cup Cilantro 
2 teaspoons Cumin 

Combine everything and freeze. Defrost the night before add 1-2 cups of water and cook on low for 7-8 hours. 

Teriyaki Chicken 

3-4 Chicken breasts
1 cup Teriyaki Sauce (I used Lawry's)
2/3 Cup Brown sugar 
3 cloves of Garlic 
3 slices fresh ginger 

Combine everything and freeze. Defrost the night before and Cook for 4-6 hours on low.  I've decided that I might cook stir fry veggies and either add to dish or serve on the side. I will probably serve over rice. I might even get steamed rice on my way home. From my local sushi place. 

Cafe Rio Crock Pot Chicken

So this one got tons of positive reviews. I am skeptical but you have to try it before you can say you don't like it. (At least this is what I tell my kids) 

4 Chicken breasts 
1/2 bottle zesty Italian 
1 Packet of dry ranch dressing 
1/2 Cup Water 
1/2 Tablespoon Minced Garlic 
1/2 Tablespoon Chili Powder 
1/2 Tablespoon Ground Cumin 

Mixed it all up and freeze. Defrost in fridge and cook 4-6 hours on Low. Not sure what I am going to eat with this one.  (My camera on my phone stopped working for a bit so I didn't get a picture of it before.)

 I am very excited and anxious to try these new meals I will do a post after I try each one. I am going to let my husband choose what he wants each night. 

  1. Tips and Tricks 
  2. Some of these say use 2 lbs of Chicken well that is a little excessive if you don't have a large family or you are just cooking for 2 people. I only used about 4 chicken breasts for each. Enough to ensure leftovers but not so much that I wouldn't want to eat it anymore.  The first time I did it I only used 2-3 chicken breast (But make the same amount of the seasoning) this way I can see what we liked and next time I will make more. 
  3. Buy reusable freezer Tubs. This way you are not wasting so much plastic and you can wash and reuse them and save money. 
  4. If you do use plastic bags don't forget the pitcher to hold everything for you. 
  5. Make a shopping List by categories it will cut down on how much time you spend in the store. (Don't forget to look at sale ads before going)

Friday, July 25, 2014

Too Busy to Cook? Freezer Meals to the Rescue!!!!

So I said that I would do a review of the freezer meals that I have used and update you on how they are going. I must admit I am in LOVE with the freezer meals. The reason I am trying so many different meals is so that I can see if we like or don't like something. I plan on doubling these the next time and having them in my freezer.  These are going to come in handy especially during volleyball season which is also the beginning of the school year. I hope that you find these handy. So far we have tried 7 meals. Of those 7 there is one that my husband did not care for but the kids loved it so he is overruled on that one. 

First up Honey Rosemary Chicken

2 lbs chicken
1/3 c. balsamic vinegar 
1/3 c . honey
1/3 c. olive oil 
3 tbls. fresh rosemary 
1 tea. Salt 
Marinate before freezing 

Defrost in fridge and add one cup of water. Cook 6-8 hours on on low at one add 1 teaspoon cornstarch 10 minutes before serving. Serve over rice. 

This was a good first dish to start with the boys loved it. The directions said to cut into bite sized pieces I would say keep them a little larger because it cooked quite quickly and the chicken started to fall apart. 

Next up Newlywed Beef tips....this was the EASIEST

2 lbs beef tips 
23oz french onion soup 
1 bag frozen broccoli 

Put the beef tips and french onion soup in the bag a freeze. Defrost in fridge the night before add 2 cups of water and cook on low 6-7 hours. The last 30 minutes before serving add broccoli.  Serve over rice with fresh parmesean 

I like this because it was easy prep and still very yummy.  I would recommend this one to anybody who is a first timer to freezer meals. 

My Favorite So far was Sante Fe Chicken 

2lbs boneless skinless chicken breasts
1 chopped red pepper 
1/2 onion 
1/2 teaspoon Cumin 
Cilantro (I added almost a whole bunch because I love it) I would say about 1 cup 
1 can black beans
1 can corn 
1 jar of salsa

I decided to mixed all of the ingredients and then add the chicken. Throw it into bags (2) and freeze. Defrost the night before. Put it into the crock pot and cook for 6-8 hours and serve over rice.  

This meal was amazing, easy to prep and yummmmy!!! 

Sausage and Peppers (Good for summer and occasionally)  

Sausage (I used chicken sausage not Italian)  
2 green peppers
1 red pepper 
1 red onion 
4 cloves of garlic 
2 cans Italian diced tomatoes 

Cook for about 6-7 hours. I served this on toasted subs and melted cheese (provolone/mozzarella mixed you can get already shredded at Target)  

Slow Cooked Fajitas (Great sub for fajitas and less cooking) 

2 lbs beef round steak (I used fajitas meat so I would not have to do extra cutting) 
2 - 8oz cans diced tomatoes with chilies 
1 large onion 
1 green pepper 
1 red pepper 
4 teaspoons of of cilantro ( I added more) 
1 cloves of garlic 
2 teaspoons chili powder 
2 teaspoons cumin 
salt and pepper 
1 jalapeno

Freeze all ingredients and it's ready. Deforest before cooking serve on tortillas. You can add whatever toppings that you want including cheese, sour cream, lettuce etc....I love fajitas and this was great to have after a long day of volleyball and being mommy.

Savory Chicken 

This one will be in the rotation for sure. It was good but I did overcook the broccoli a little bit. 
 
4 chicken breast
2 can stewed tomatoes
4 tbs white wine
1 onion 
4 cloves of garlic 
1 cup chicken broth
salt and pepper to taste & 2 bay leaves
4 cups of broccoli 

Cook 6-7 hours and add broccoli the last 30 minutes I would actually say add the last 20 minutes.


Overall I would say freezer meals are going to allow me to eat better, save time and not worry about dinner each and every night. Next weeks meals are 

I will have prep pictures for next time as well as finished products. 
Cilantro Lime Chicken 
Slow Cooker Chili 
Teriyaki  Chicken 
Cafe Rio Crock Pot Chicken 
Peppered Steak 
Slow Cooked BBQ Chicken 

Until Next Time.....